
I recently came across an article about the halation effect in film (check out that article if you are interested in a description of the effect). I wanted to
emulate the effect using darktable, and thankfully the Diffuse or Sharpen module that was released in darktable 3.8 makes this pretty easy.
The method I will describe below is heavily based on one by one of the authors of the module.
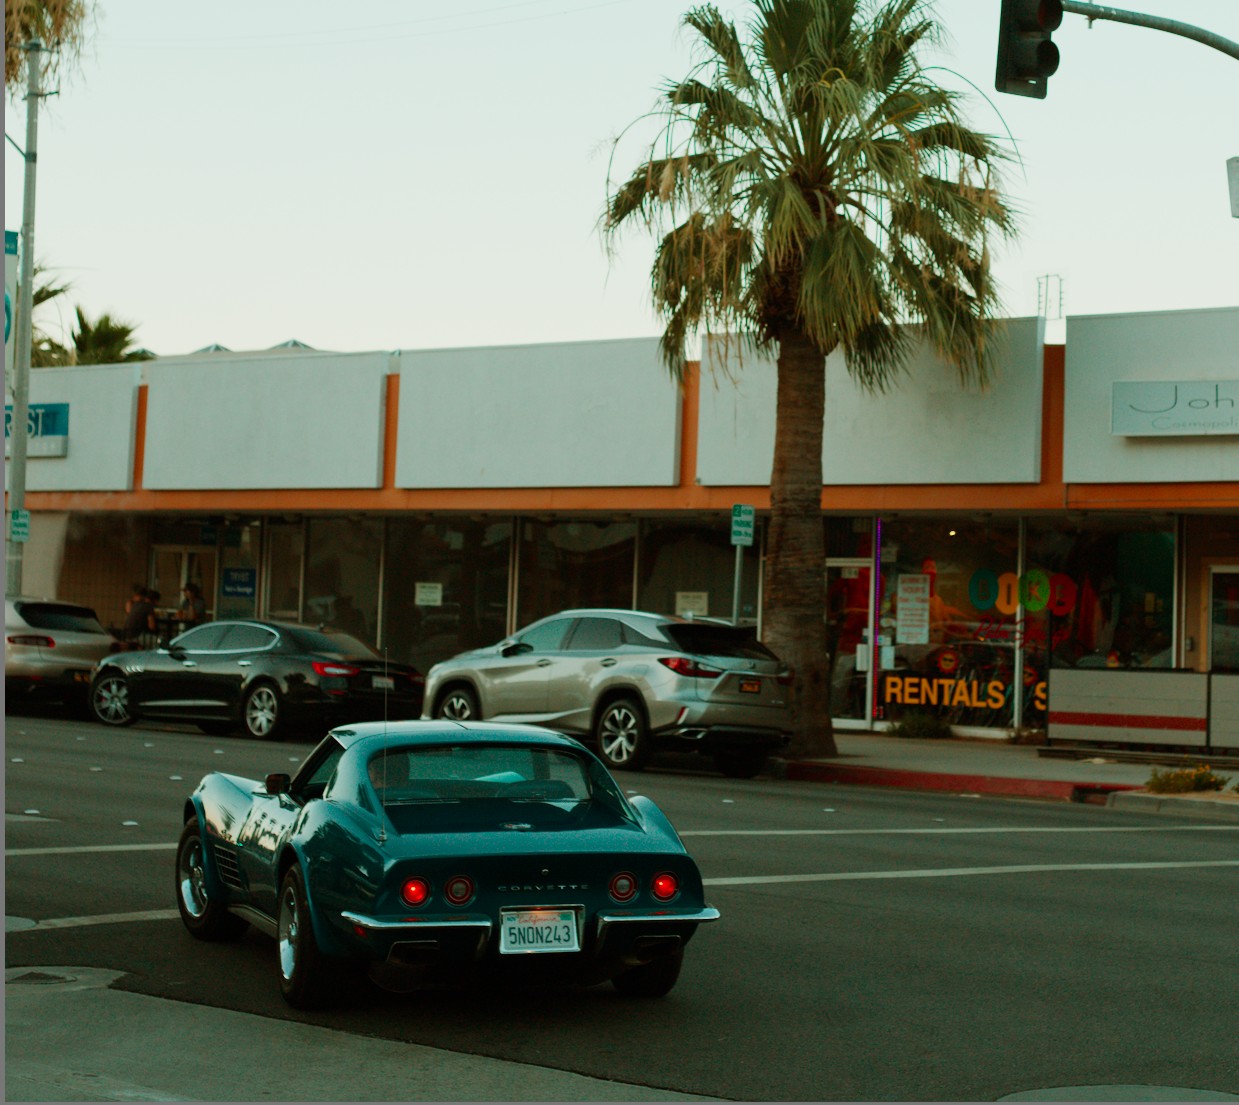
I use the IMG_9759 image from Signature Edits to demonstrate.
Steps
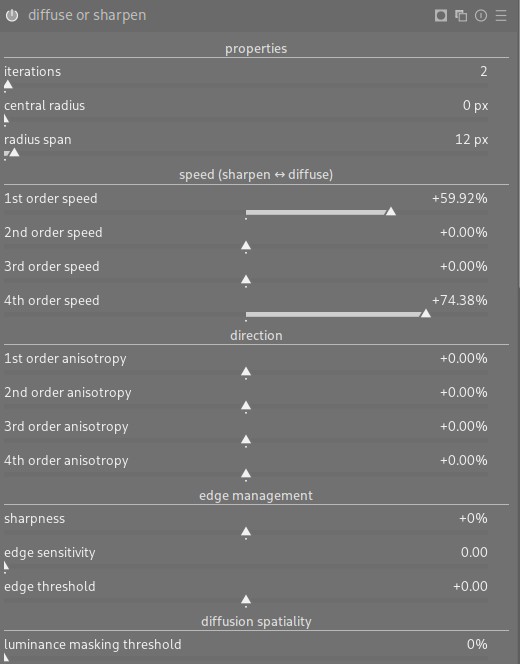
First, enable an instance of the Diffuse or Sharpen module, and increase the 1st and 4th order speed to your liking. These will control the strength of the diffusion effect. The 1st order speed will affect lower frequencies in the image, while the 4th order speed will affect higher frequencies.
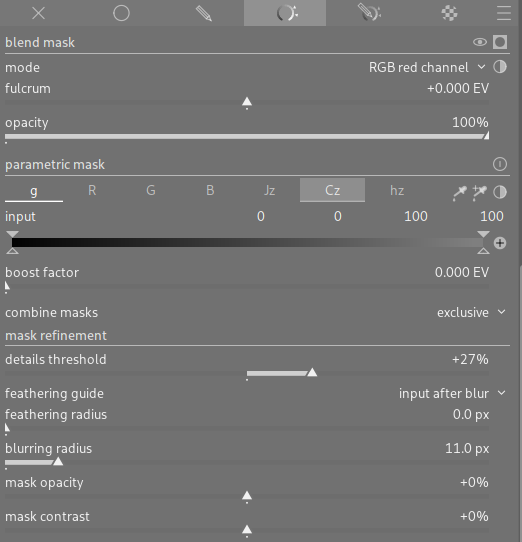
Next, we will use the masking features of darktable to restrict the effect to areas and colors that we want. We set the Blend Mask mode to RGB red channel to restrict the diffusion effect to the Red channel of the image. We use details threshold to restrict the effect to higher contrast boundaries, and apply some blur to the mask to ensure the diffusion effect isn’t cut off by it.
This alone will create a red halation effect. You can use the properties, speed, and masking sliders to tune the effect. To change the color of the effect, you can duplicate the module and change the Blend mode to the RGB green or blue channel, and adjust opacity to get the desired color.
And thats it!
Comparison
Here is a zoomed version of the above image without and with the effect:

If you would like to load the actual edits into darktable (I am using version 4.6.0), here is the sidecar file
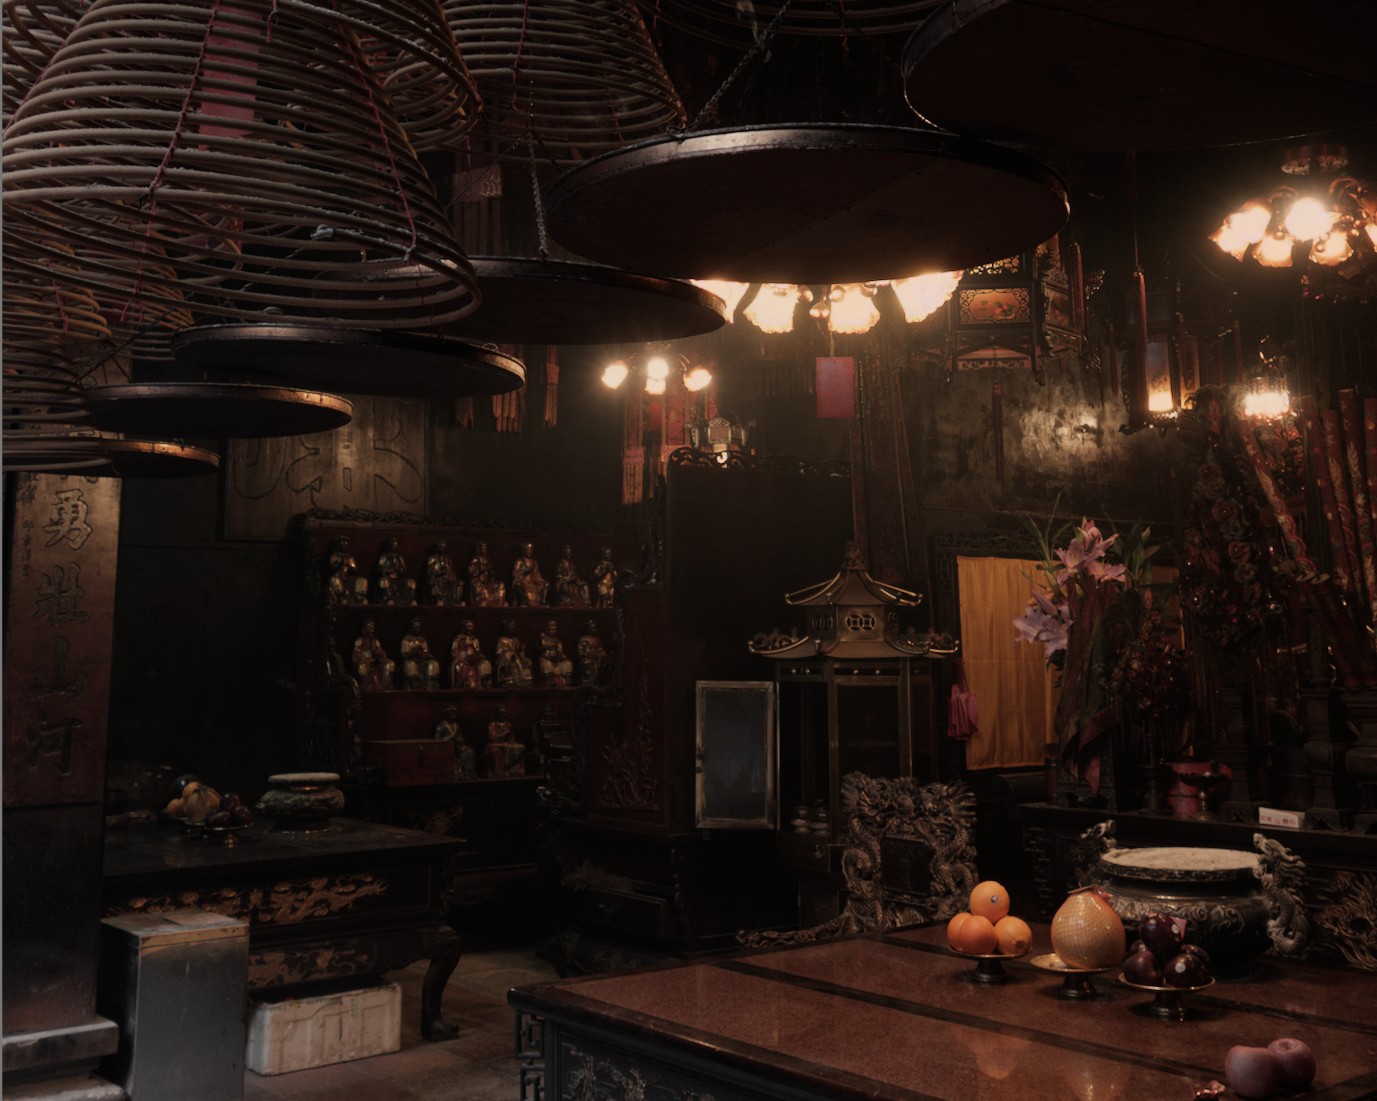
And here is another example of applying the method to a different image also from Signature Edits, @wutkaicheung tag @signatureeditsco - free raws from signatureedits.com_DSC00107(2).ARW (before, then after)

Comments
With an account on the Fediverse or Mastodon, you can respond to this post. Since Mastodon is decentralized, you can use your existing account hosted by another Mastodon server or compatible platform if you don't have an account on this one. Known non-private replies are displayed below.