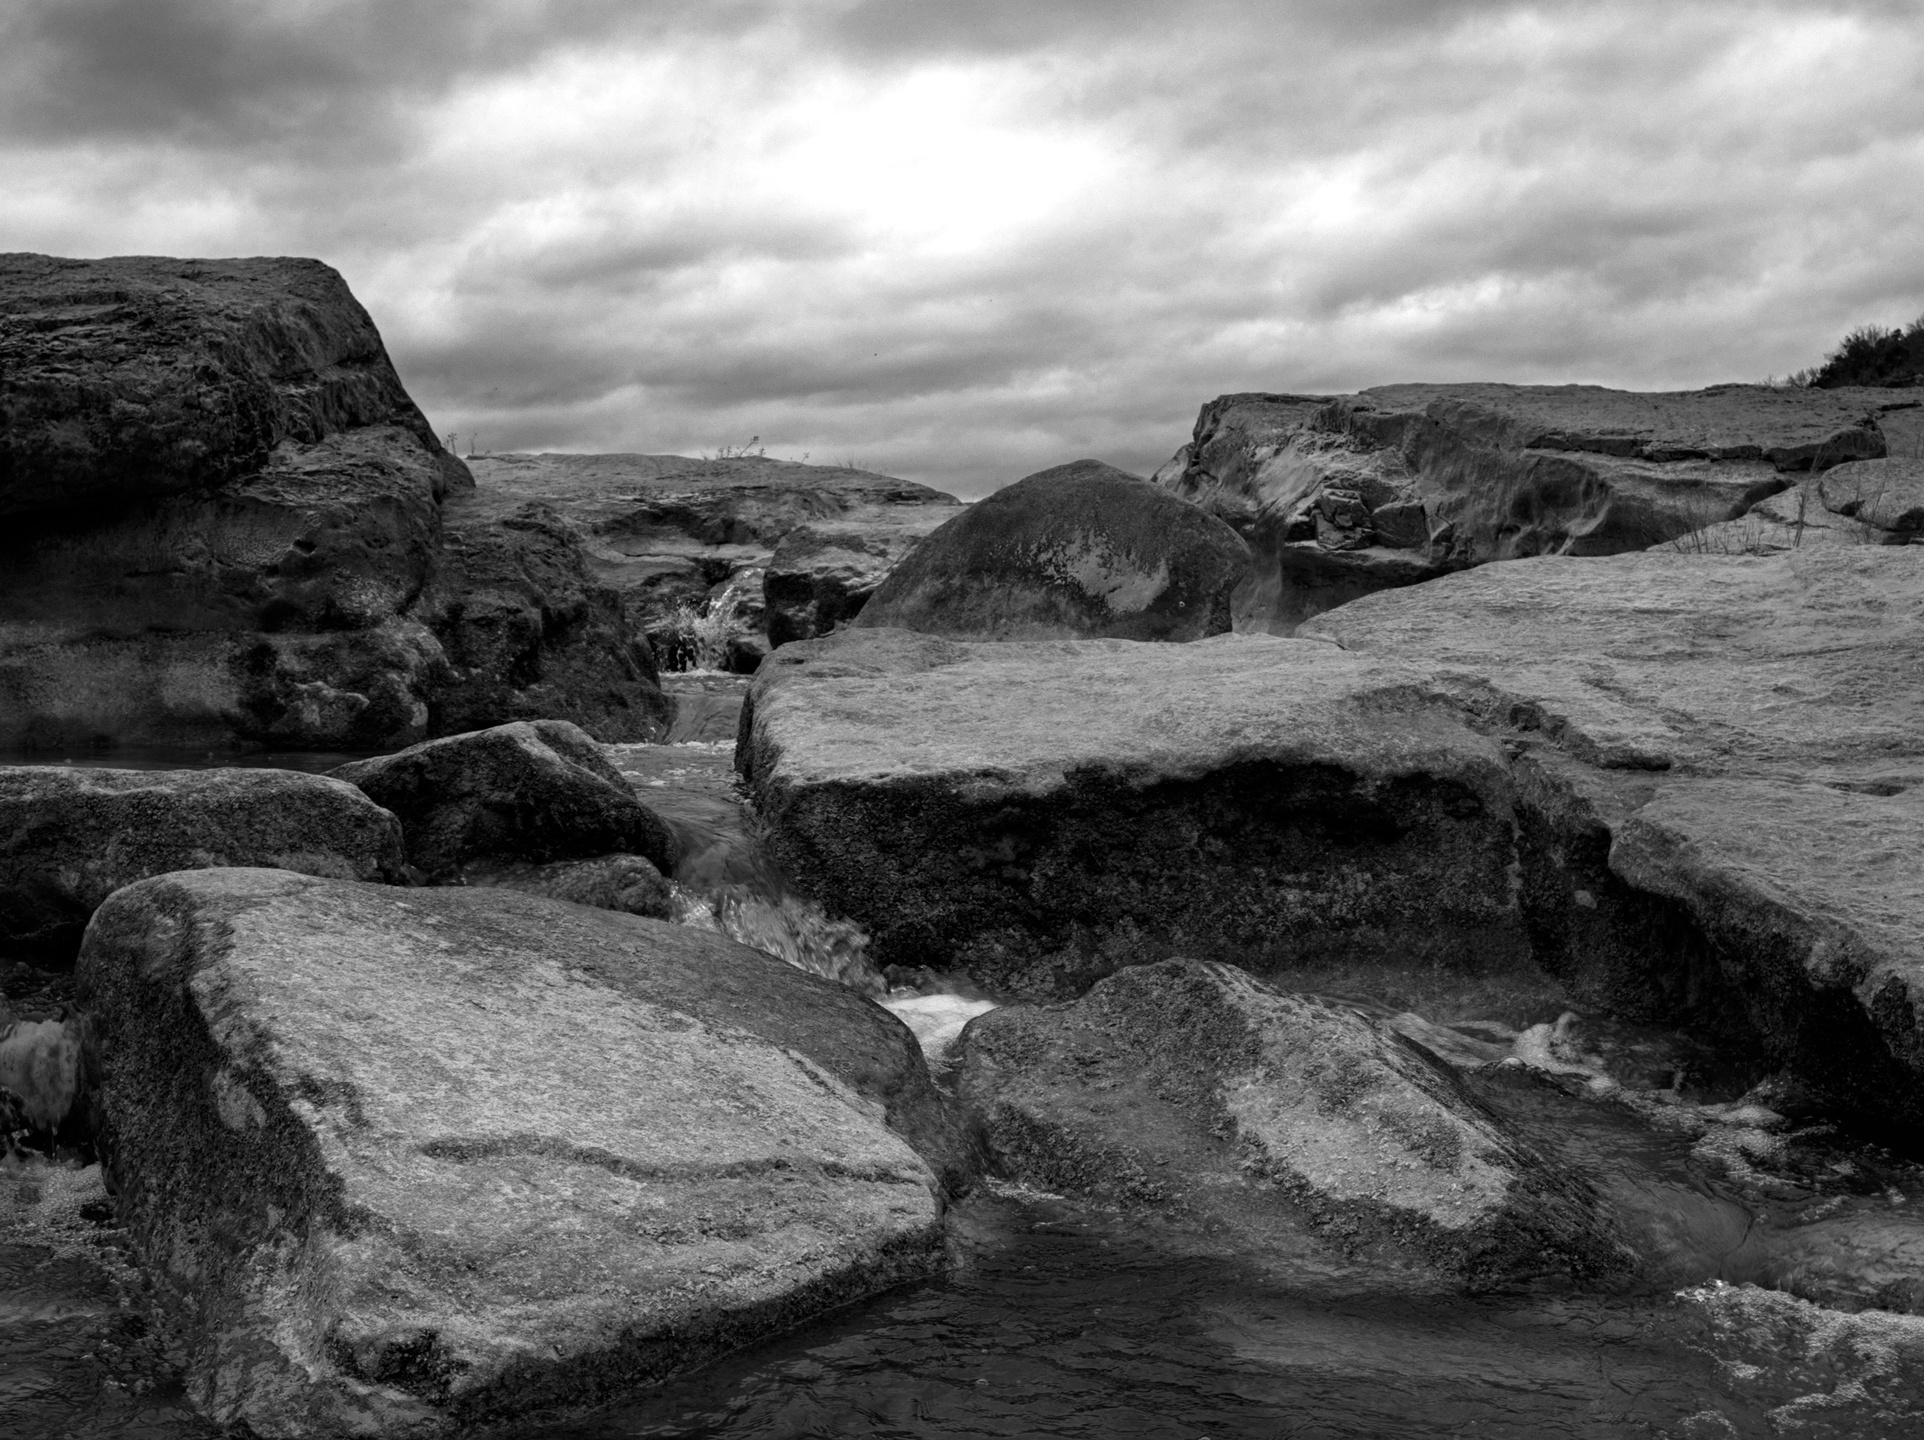
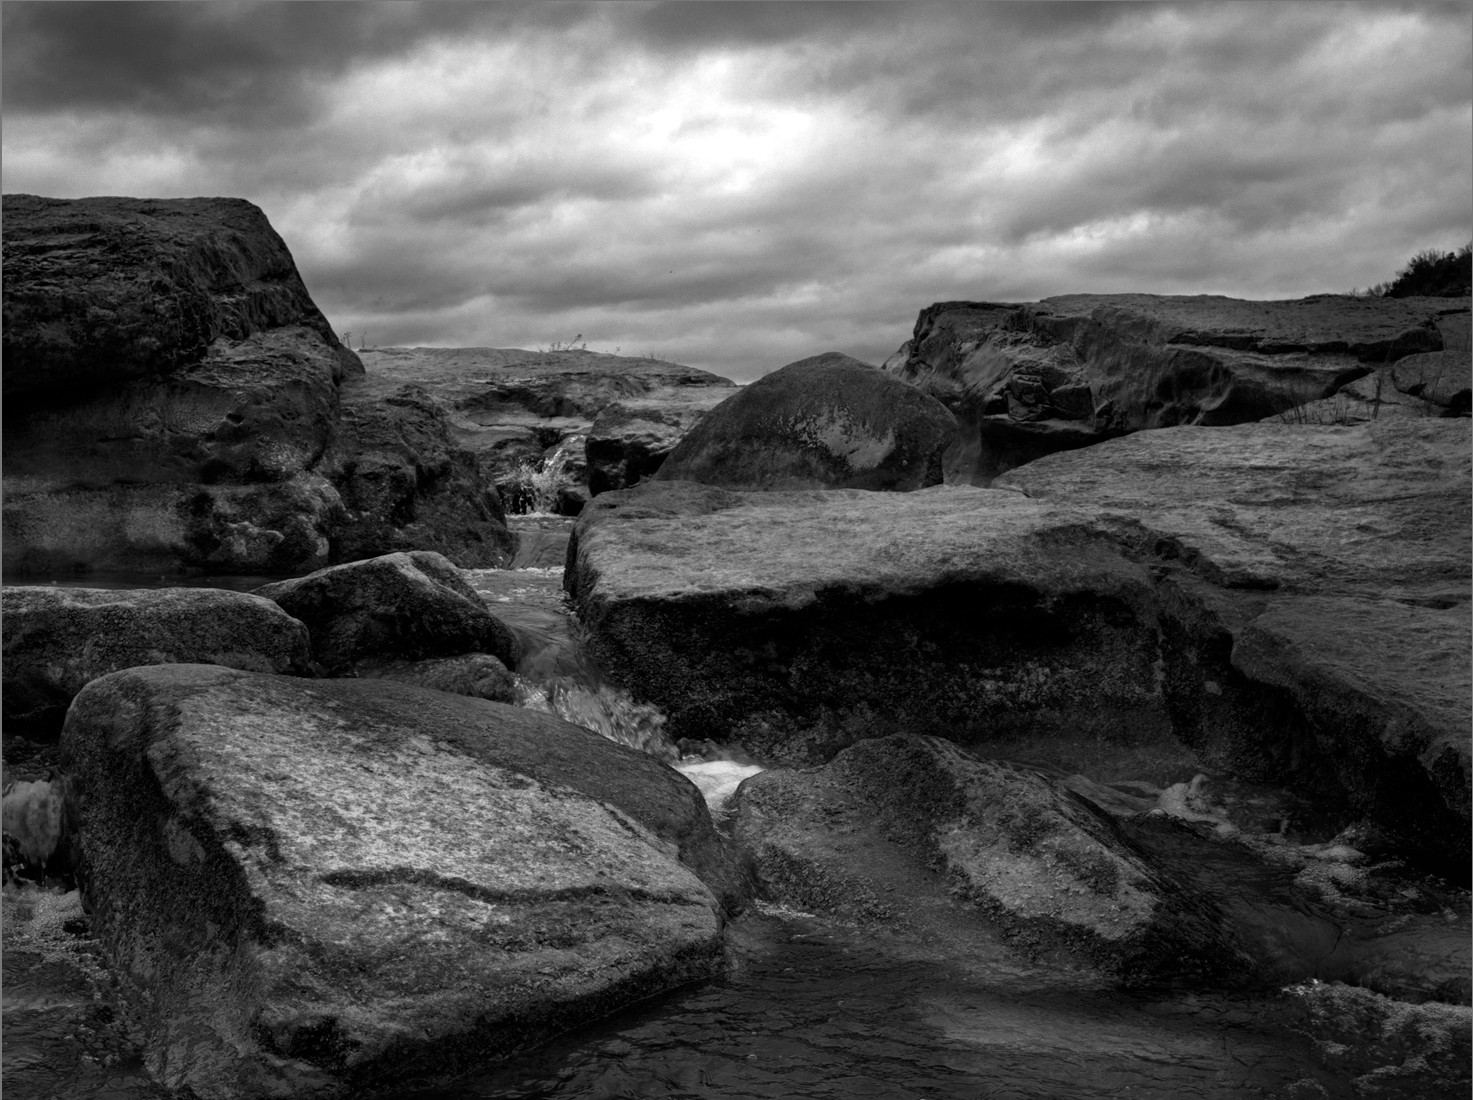
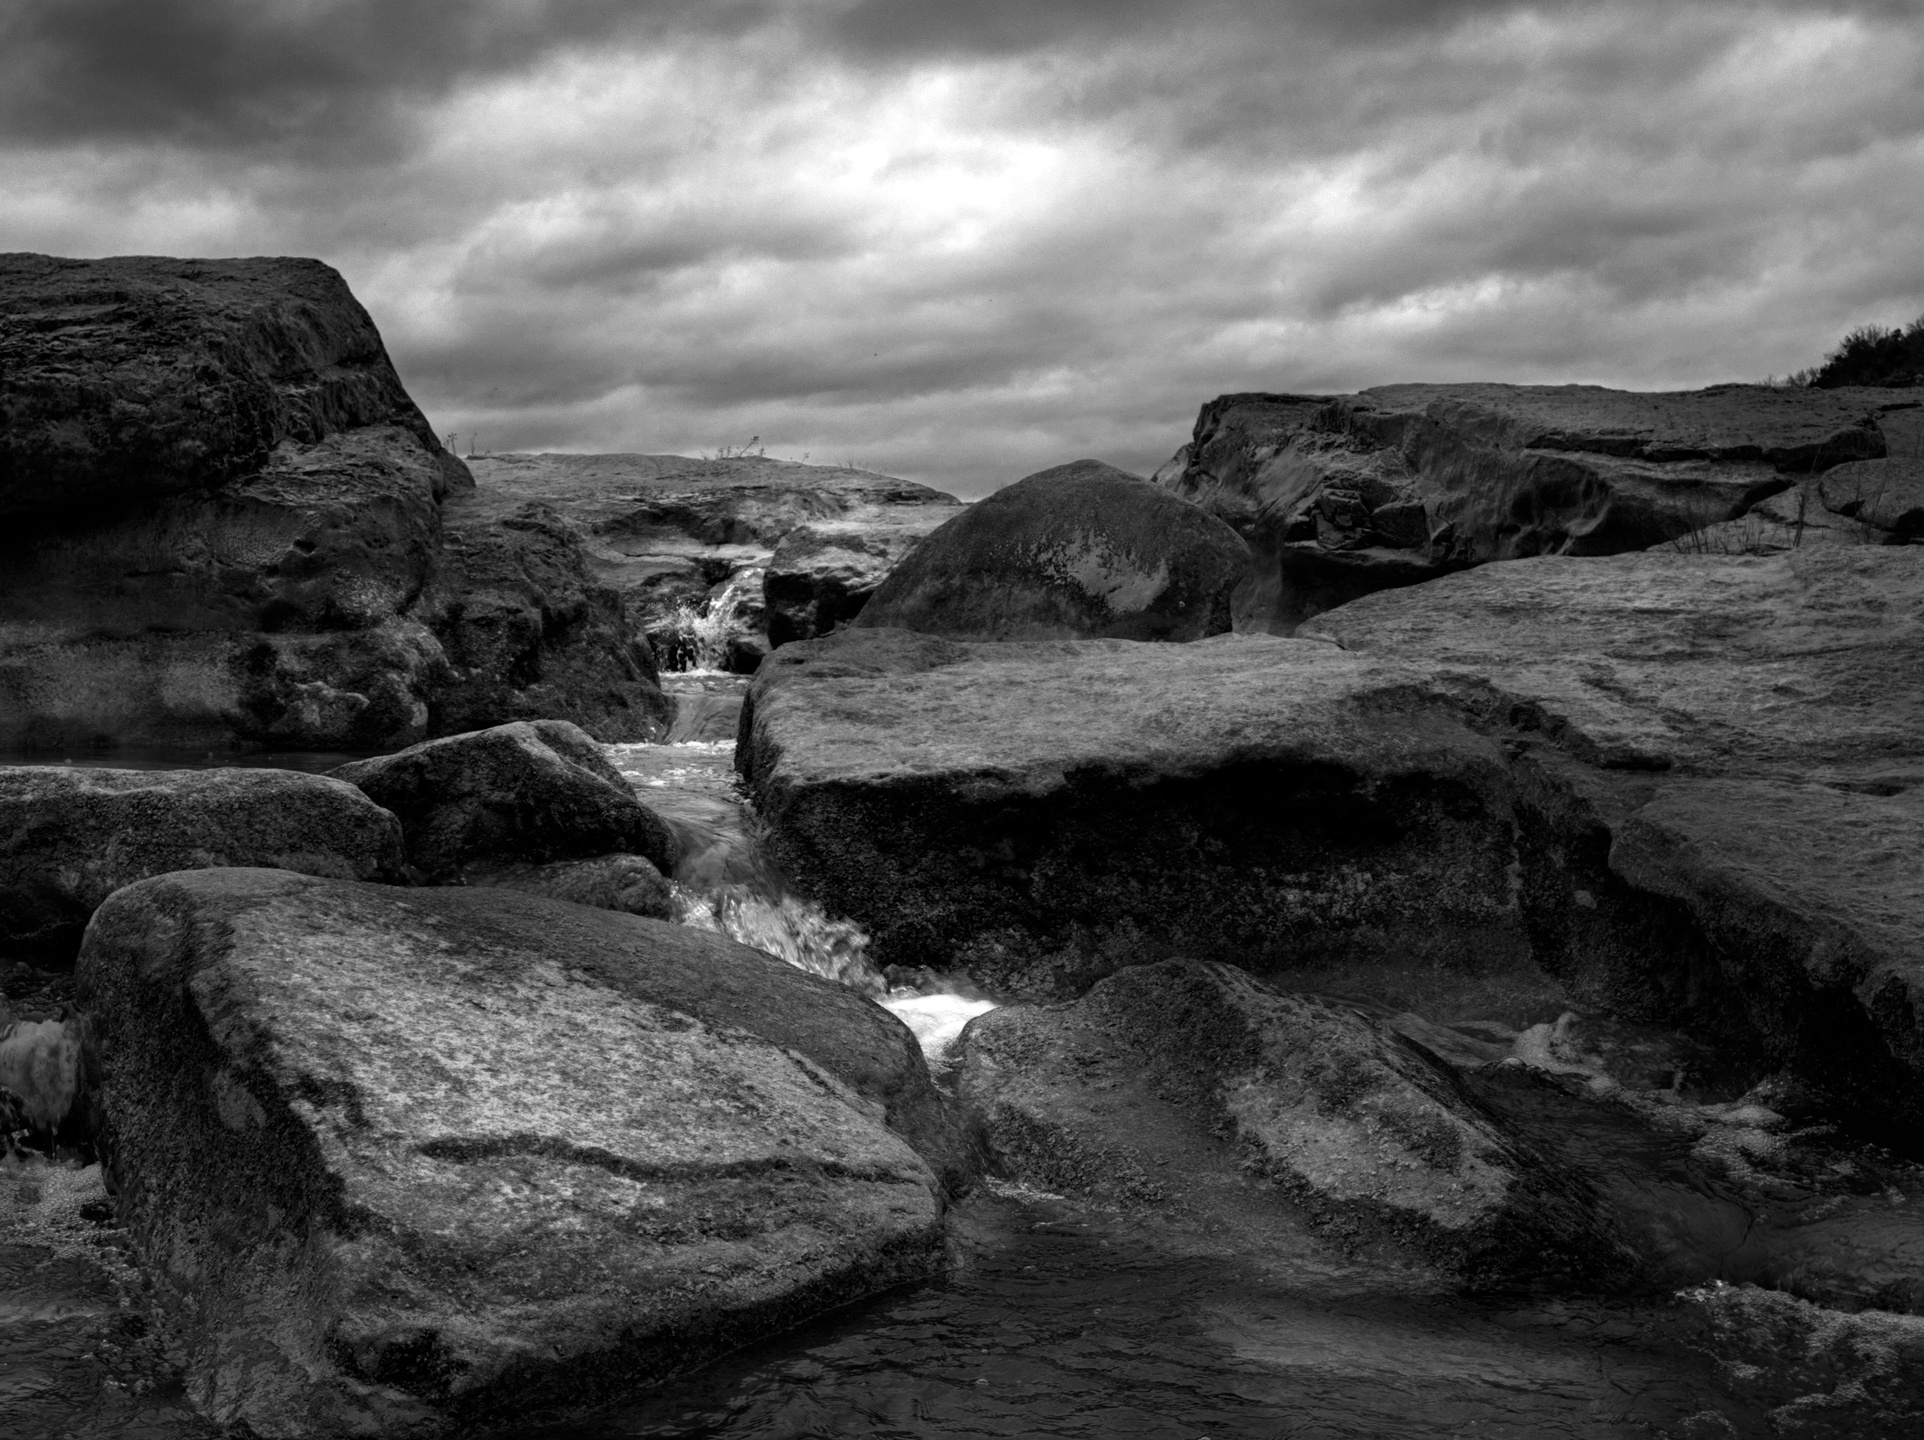
The above image is alright, but it has a big issue: the water, which should be the main subject, does not stand out. Instead, the diffuse lighting of the image draws attention to the sky and rocks. How can we draw more focus to the waterfall?
One technique we can use is “dodging and burning”, where we make selective tonal adjustments to parts of our image. In this post, I will show one such technique for doing this in darktable which I call “painting with light”. We will use darktable’s scene referred workflow and powerful masking features to improve the focus of our image.
Steps
The first step is to make sure you are using darktable’s scene-referred workflow. You can check this in your darktable preferences:
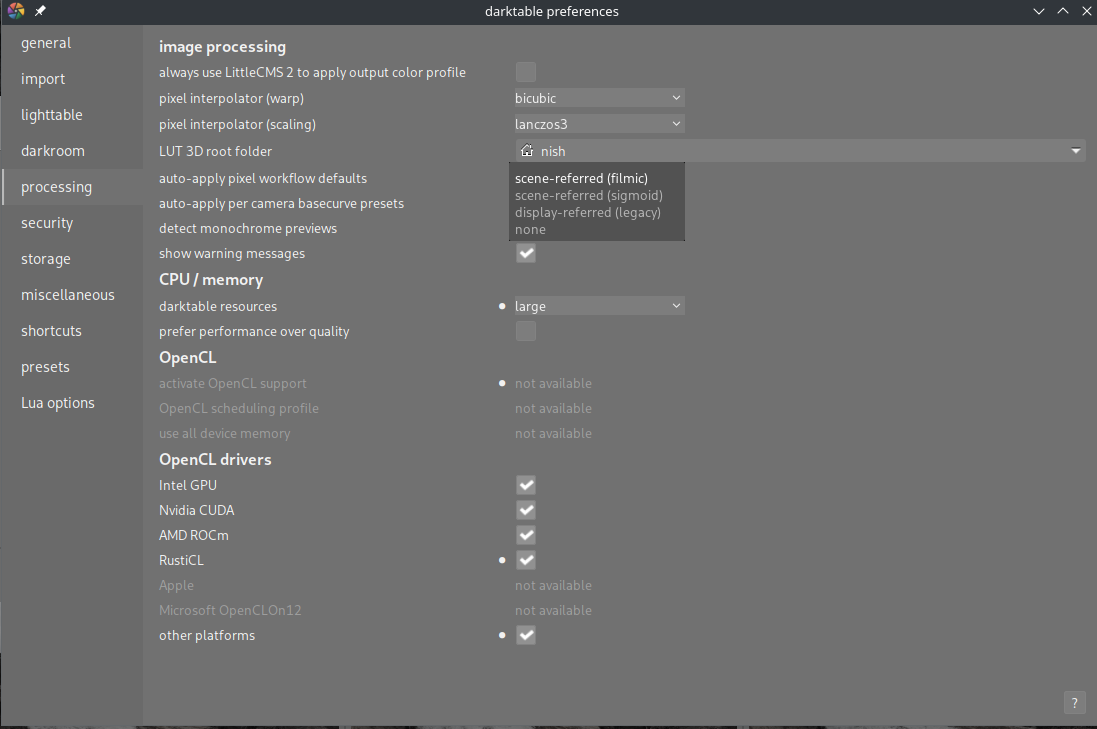
Note that there are two different scene-referred, and you can use whichever you prefer. The advantage of a scene-referred workflow is that the data in our image will be kept linear and unbounded in most of our processing pipeline, usually leading to more natural looking results. You can read more about the scene-referred workflow in the darktable documentation.
Now, let’s move on to working on our starting point image.
Sky
The first thing I would like to do is darken the sky so that it doesn’t draw as much attention. There are many ways to do this in darktable, but I will use a new instance of the exposure tool with a simple gradient mask:
Burning
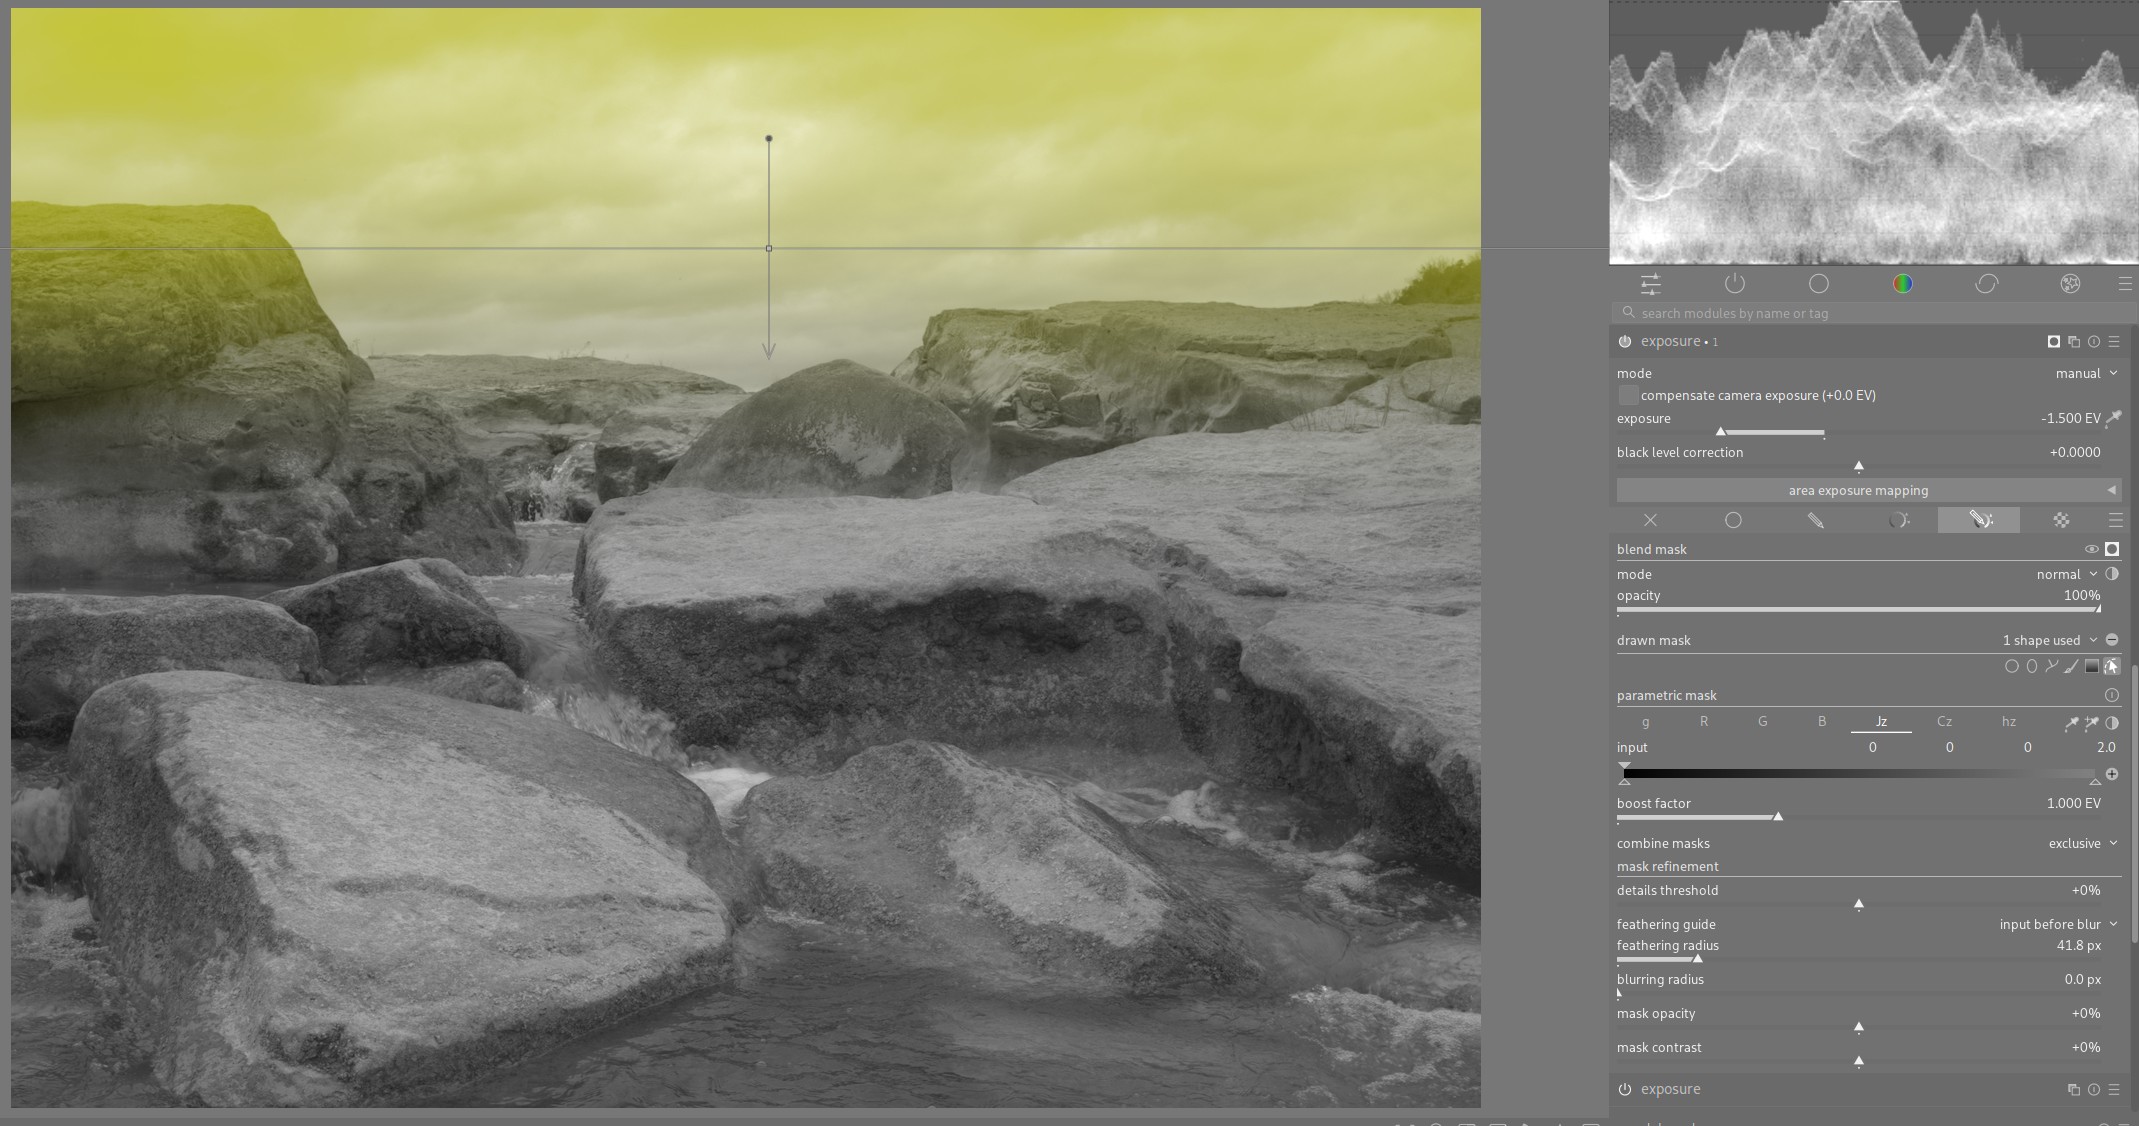
Next, I would like to darken the rocks to draw less attention to them. We can use another new instance of the exposure tool to do this. Now, let’s get to painting!
In the masking options for this new exposure instance, there is a brush masking option. Ctrl clicking this will let you paint multiple brush strokes easily.
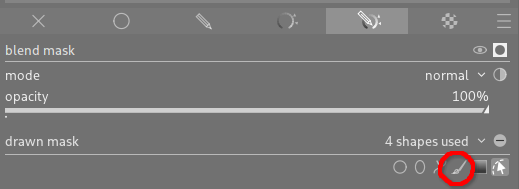
You can use whatever size brush best fits the areas you want to darken. The feathering radius is incredibly helpful to make your selection follow the edges in the image.
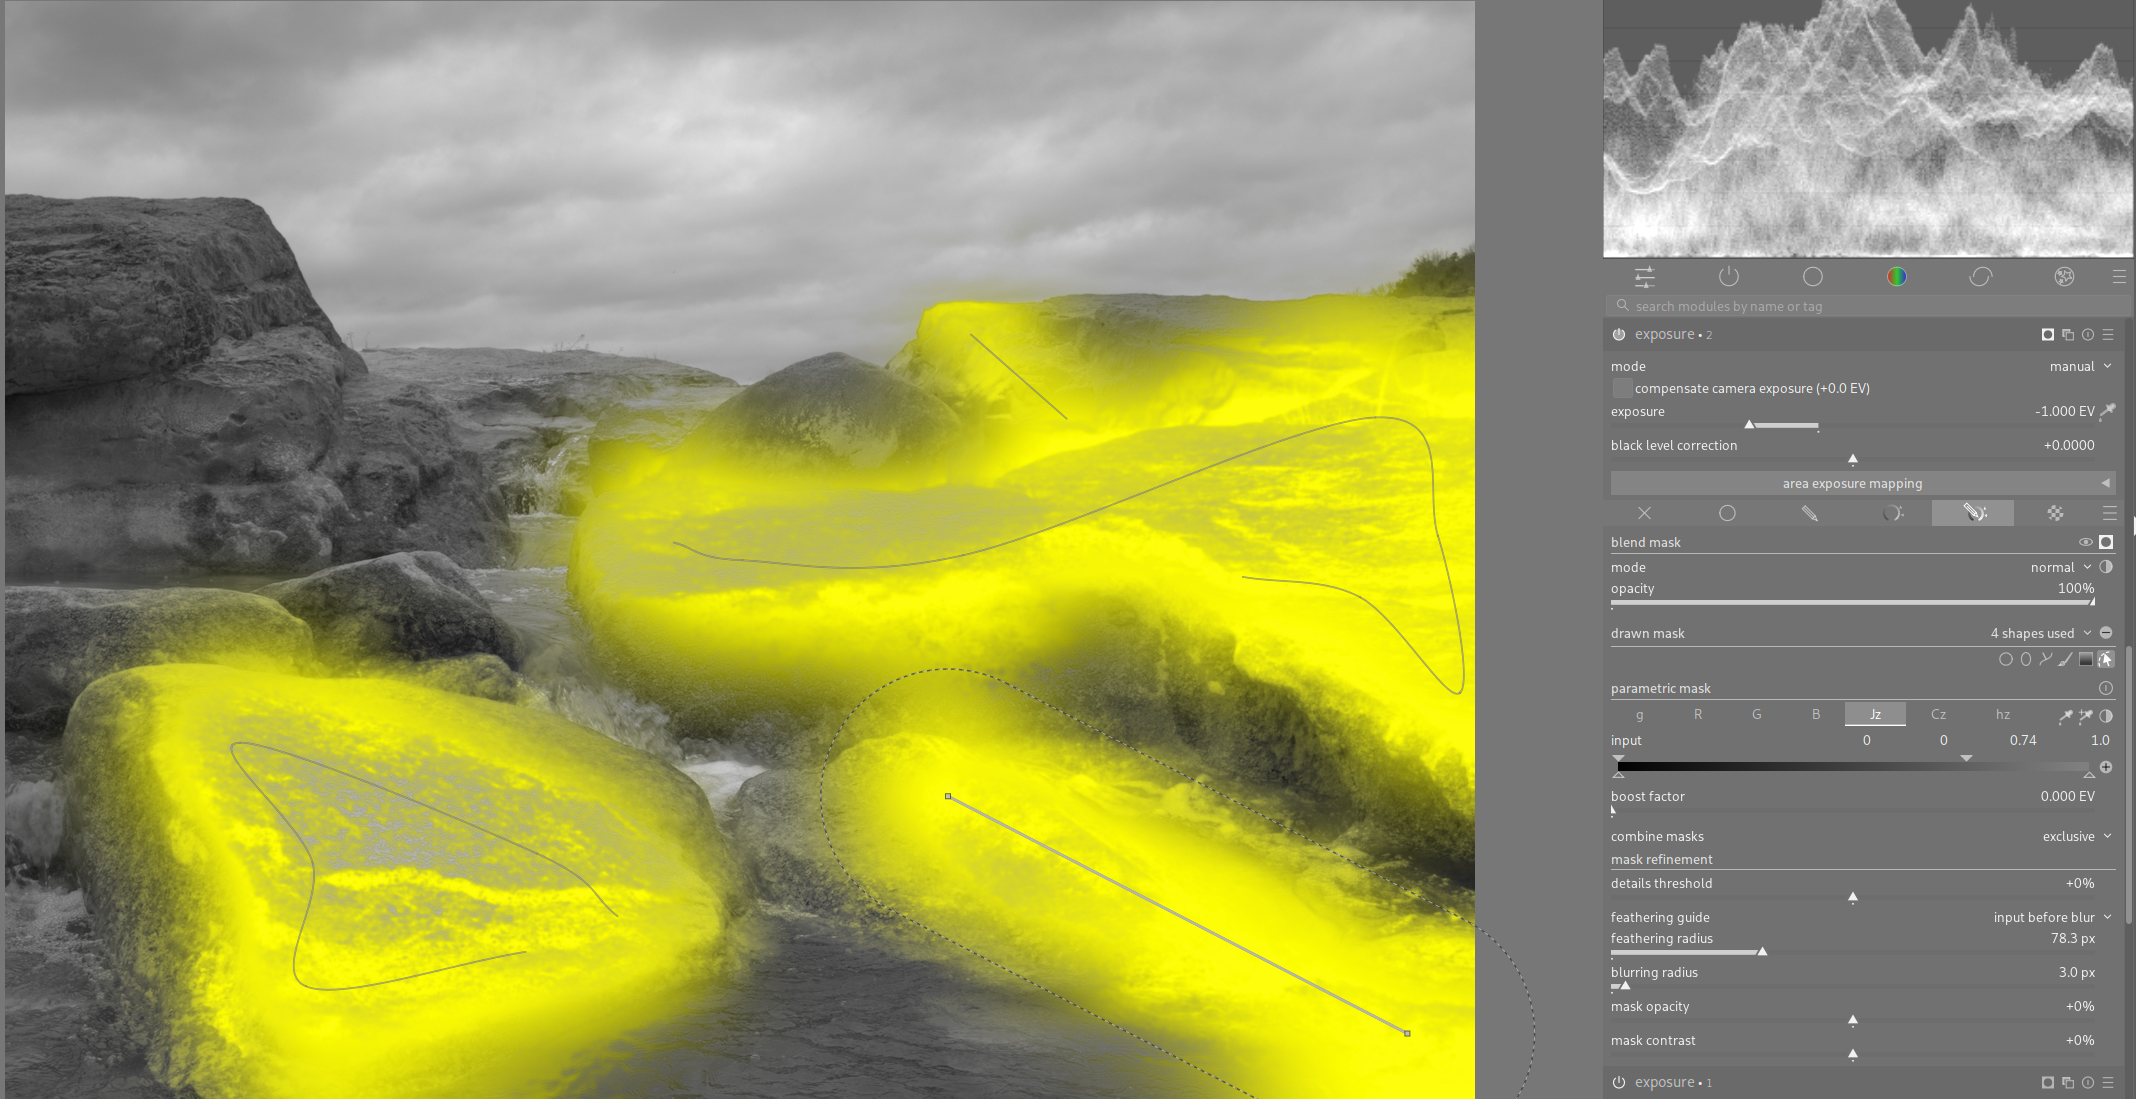
Notice that in my mask on the rocks, I include a parametric mask on the Jz channel to exclude the highlights. For this image, this lets me
mostly darken the rocks but let some of their highlights still shine through. This is one of the main benefits of this technique: because you are
using the simple exposure module (which just adds or subtracts exposure), you can entirely use masks to tightly control your effect (as opposed to using something like a contrast control with a fulcrum).
With this, our image is already looking much improved.
Dodging
Lastly, we can apply a similar process to brighten the water in the scene to help draw more attention to it. Like darkening the rocks, we can use one more instance of the exposure tool and add a drawn mask with the brush option.
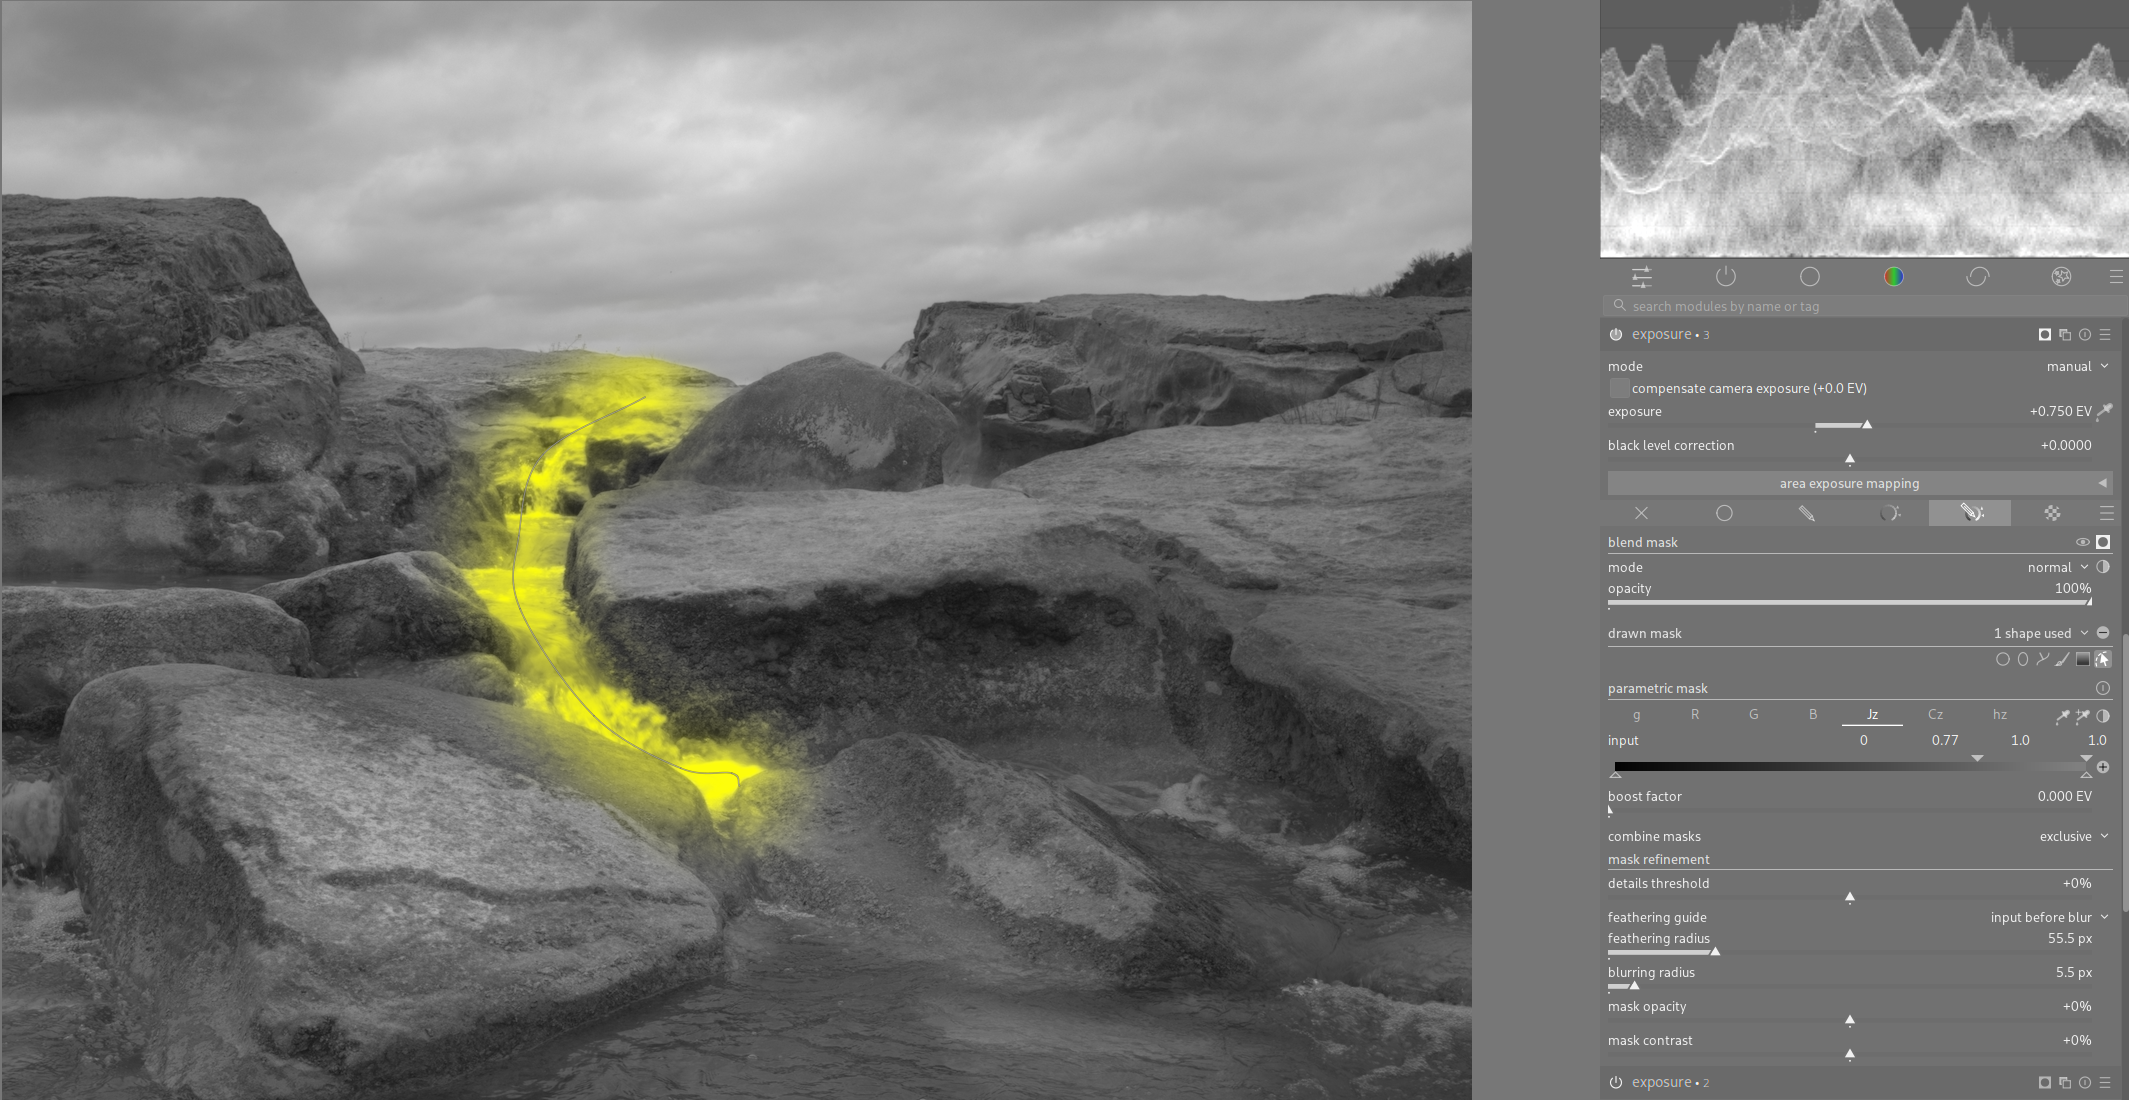
Notice that here, I reverse Jz channel mask I used for burning. I remove the darker values in the brushed selection to also add contrast during my brightening.
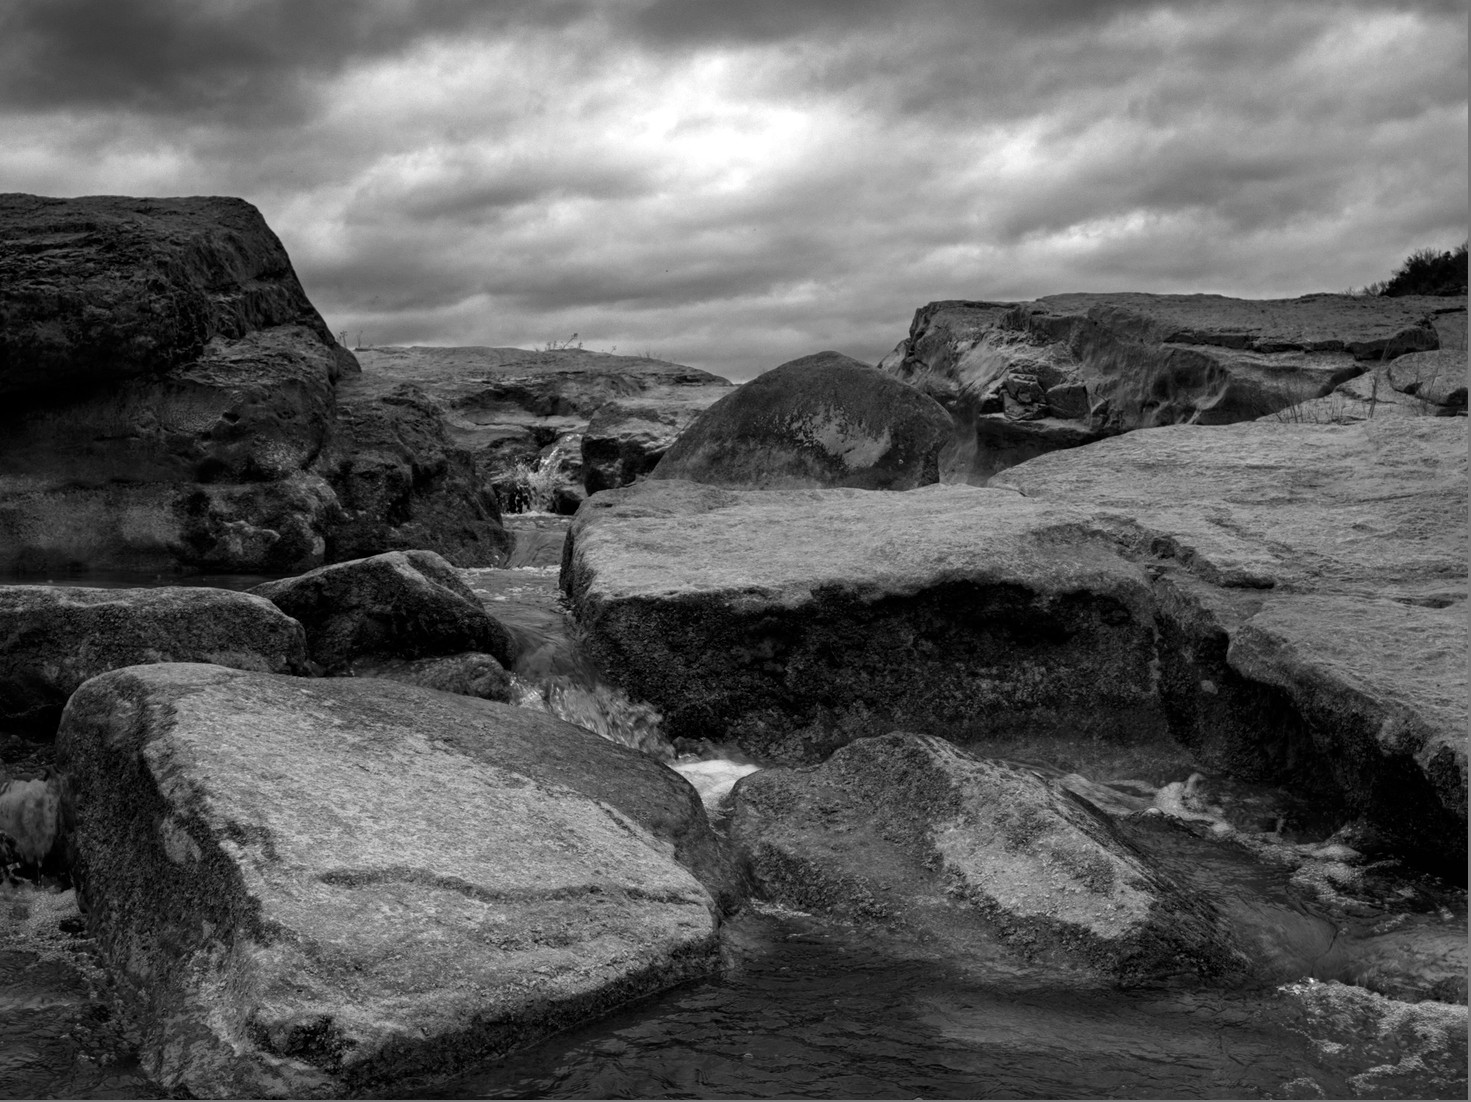
And we’re done! Here is our final image:
And here is what we started with:
Mission accomplished! The water stands out a lot more now, and we just needed a few instances of the exposure tool. If you have more parts of your image that need separate adjustments, you can simply add more instances of the exposure tool to focus on each part.
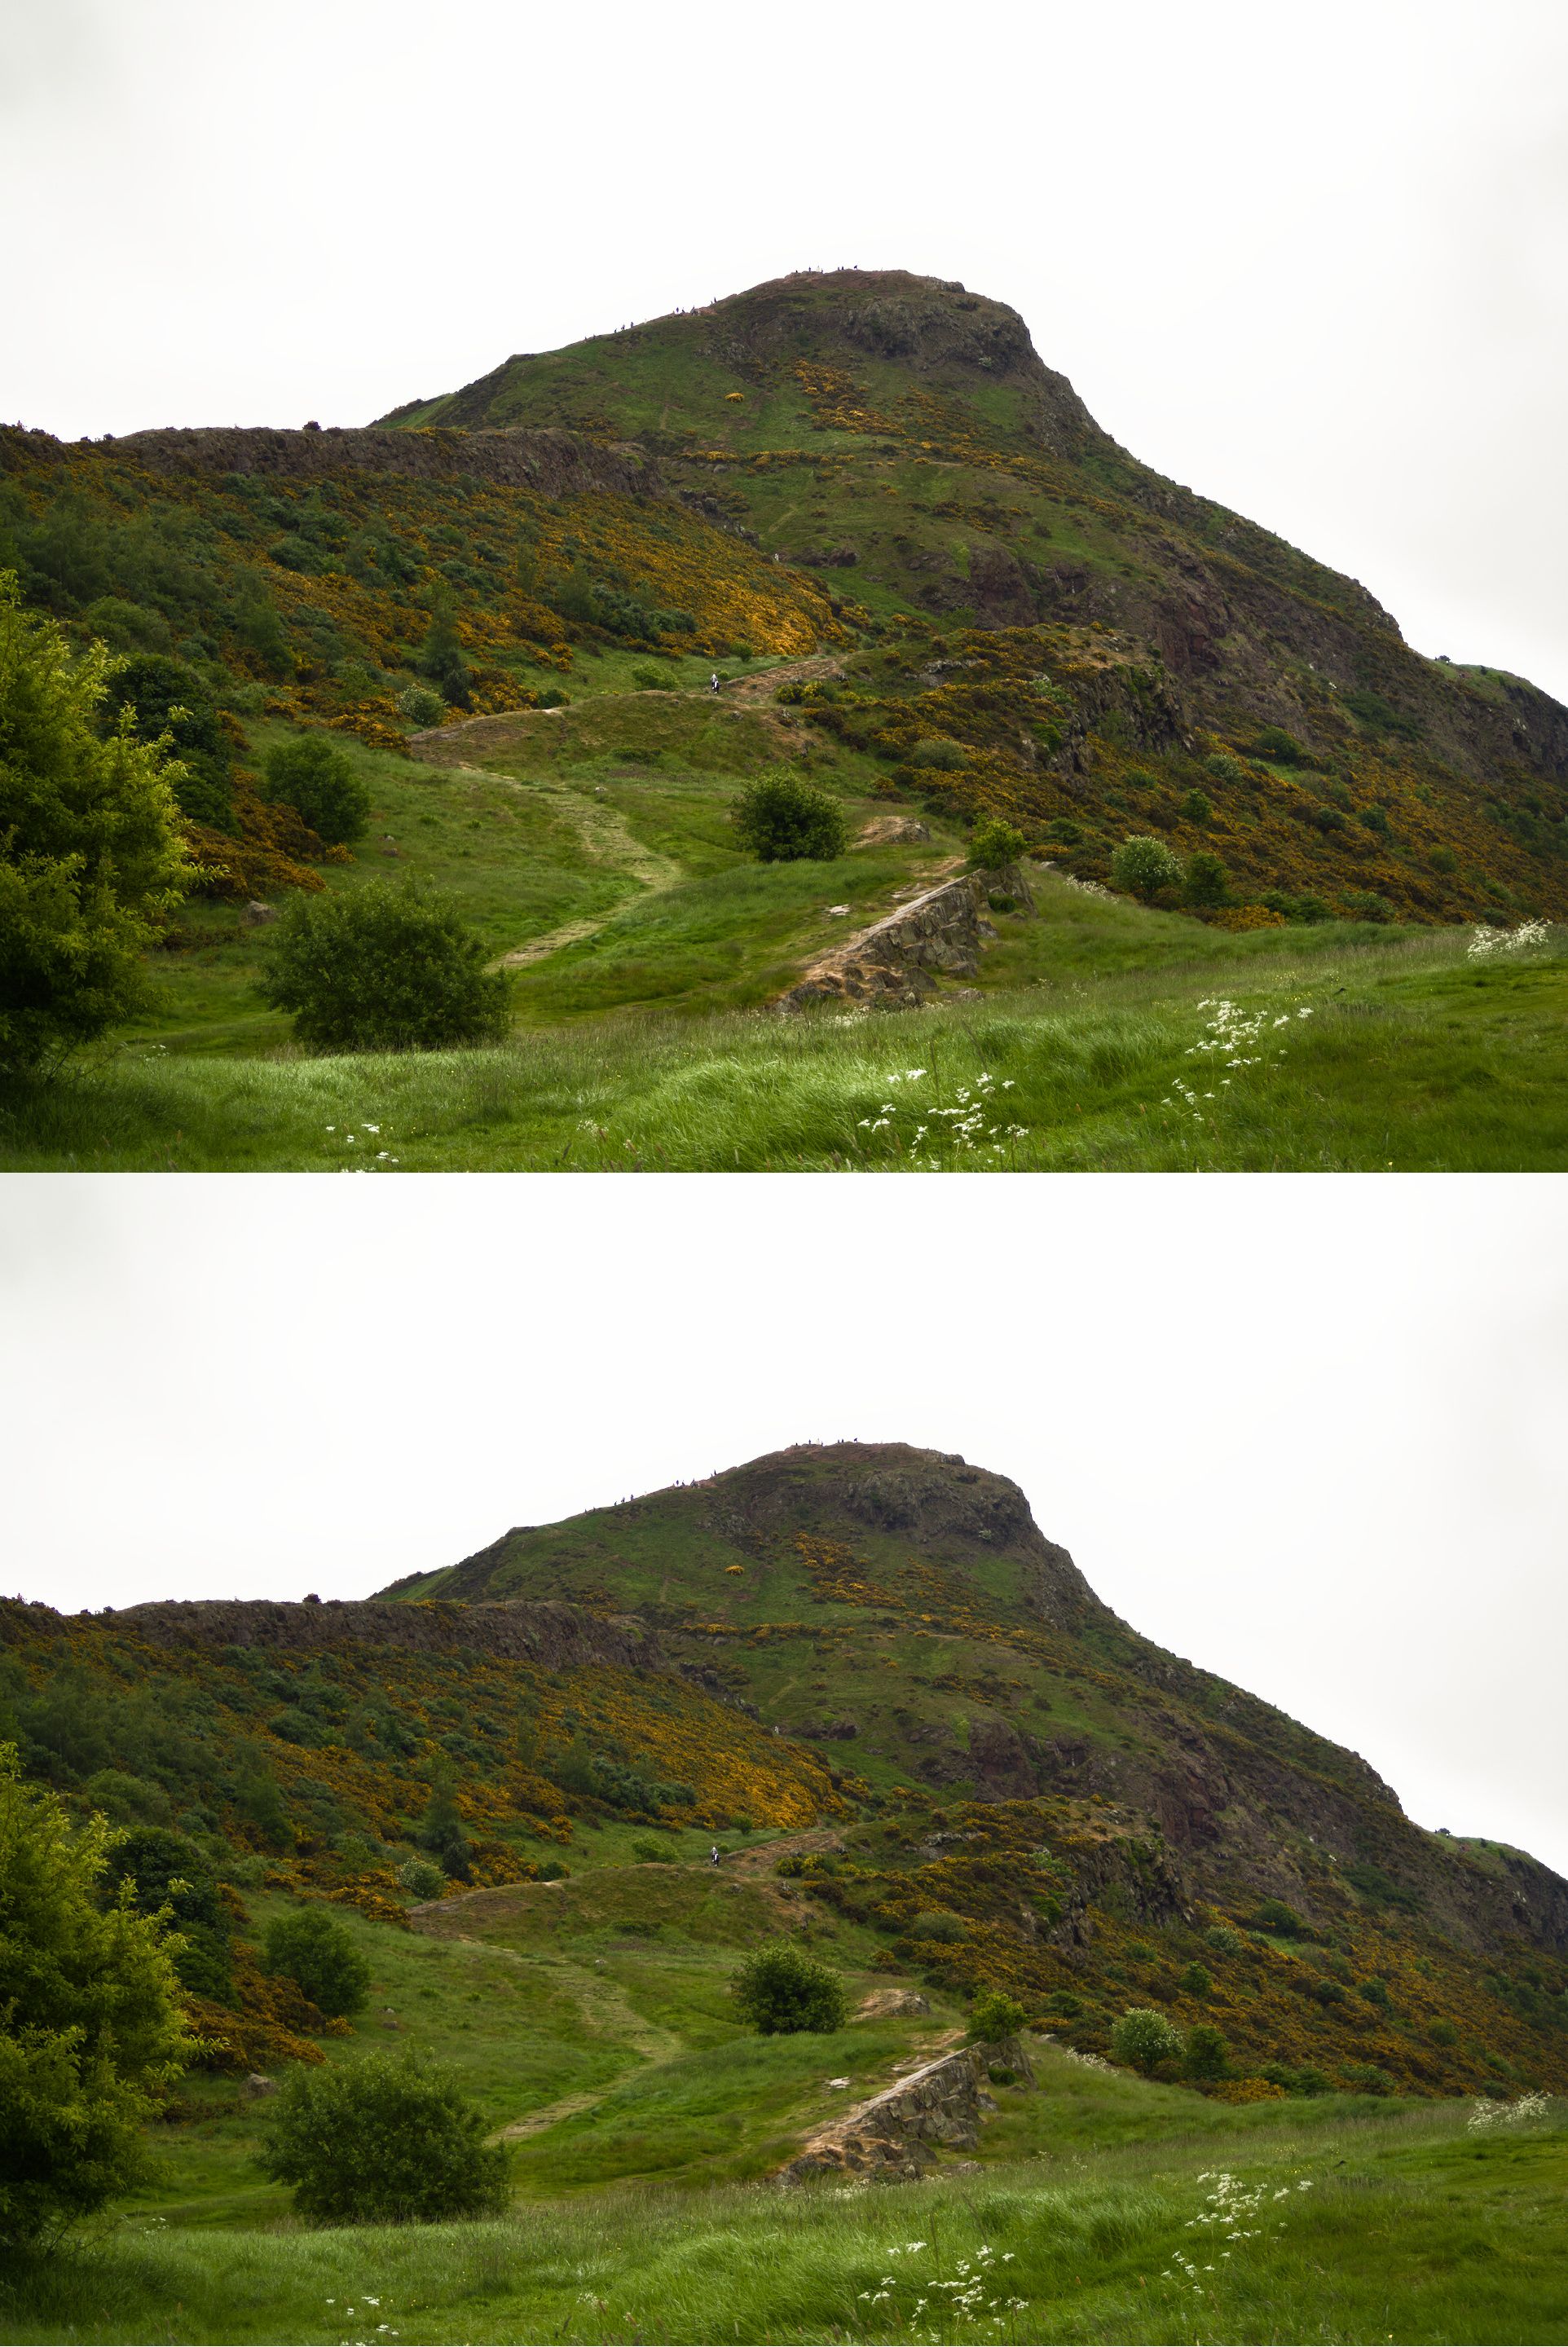
Here is another after/before example of one my photos where I also used this technique:
Comments
With an account on the Fediverse or Mastodon, you can respond to this post. Since Mastodon is decentralized, you can use your existing account hosted by another Mastodon server or compatible platform if you don't have an account on this one. Known non-private replies are displayed below.