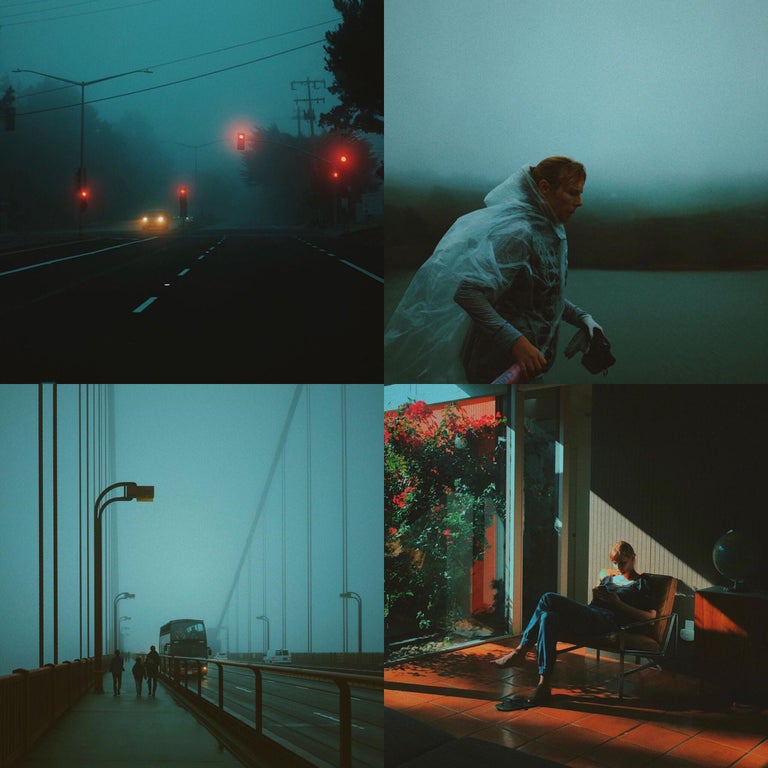
A while ago, someone asked online how to recreate the look of sanghan. Here is my attempt at showing how to do this using darktable 3.6.

Here is the end product of the edit. I found this image on Signature Edits
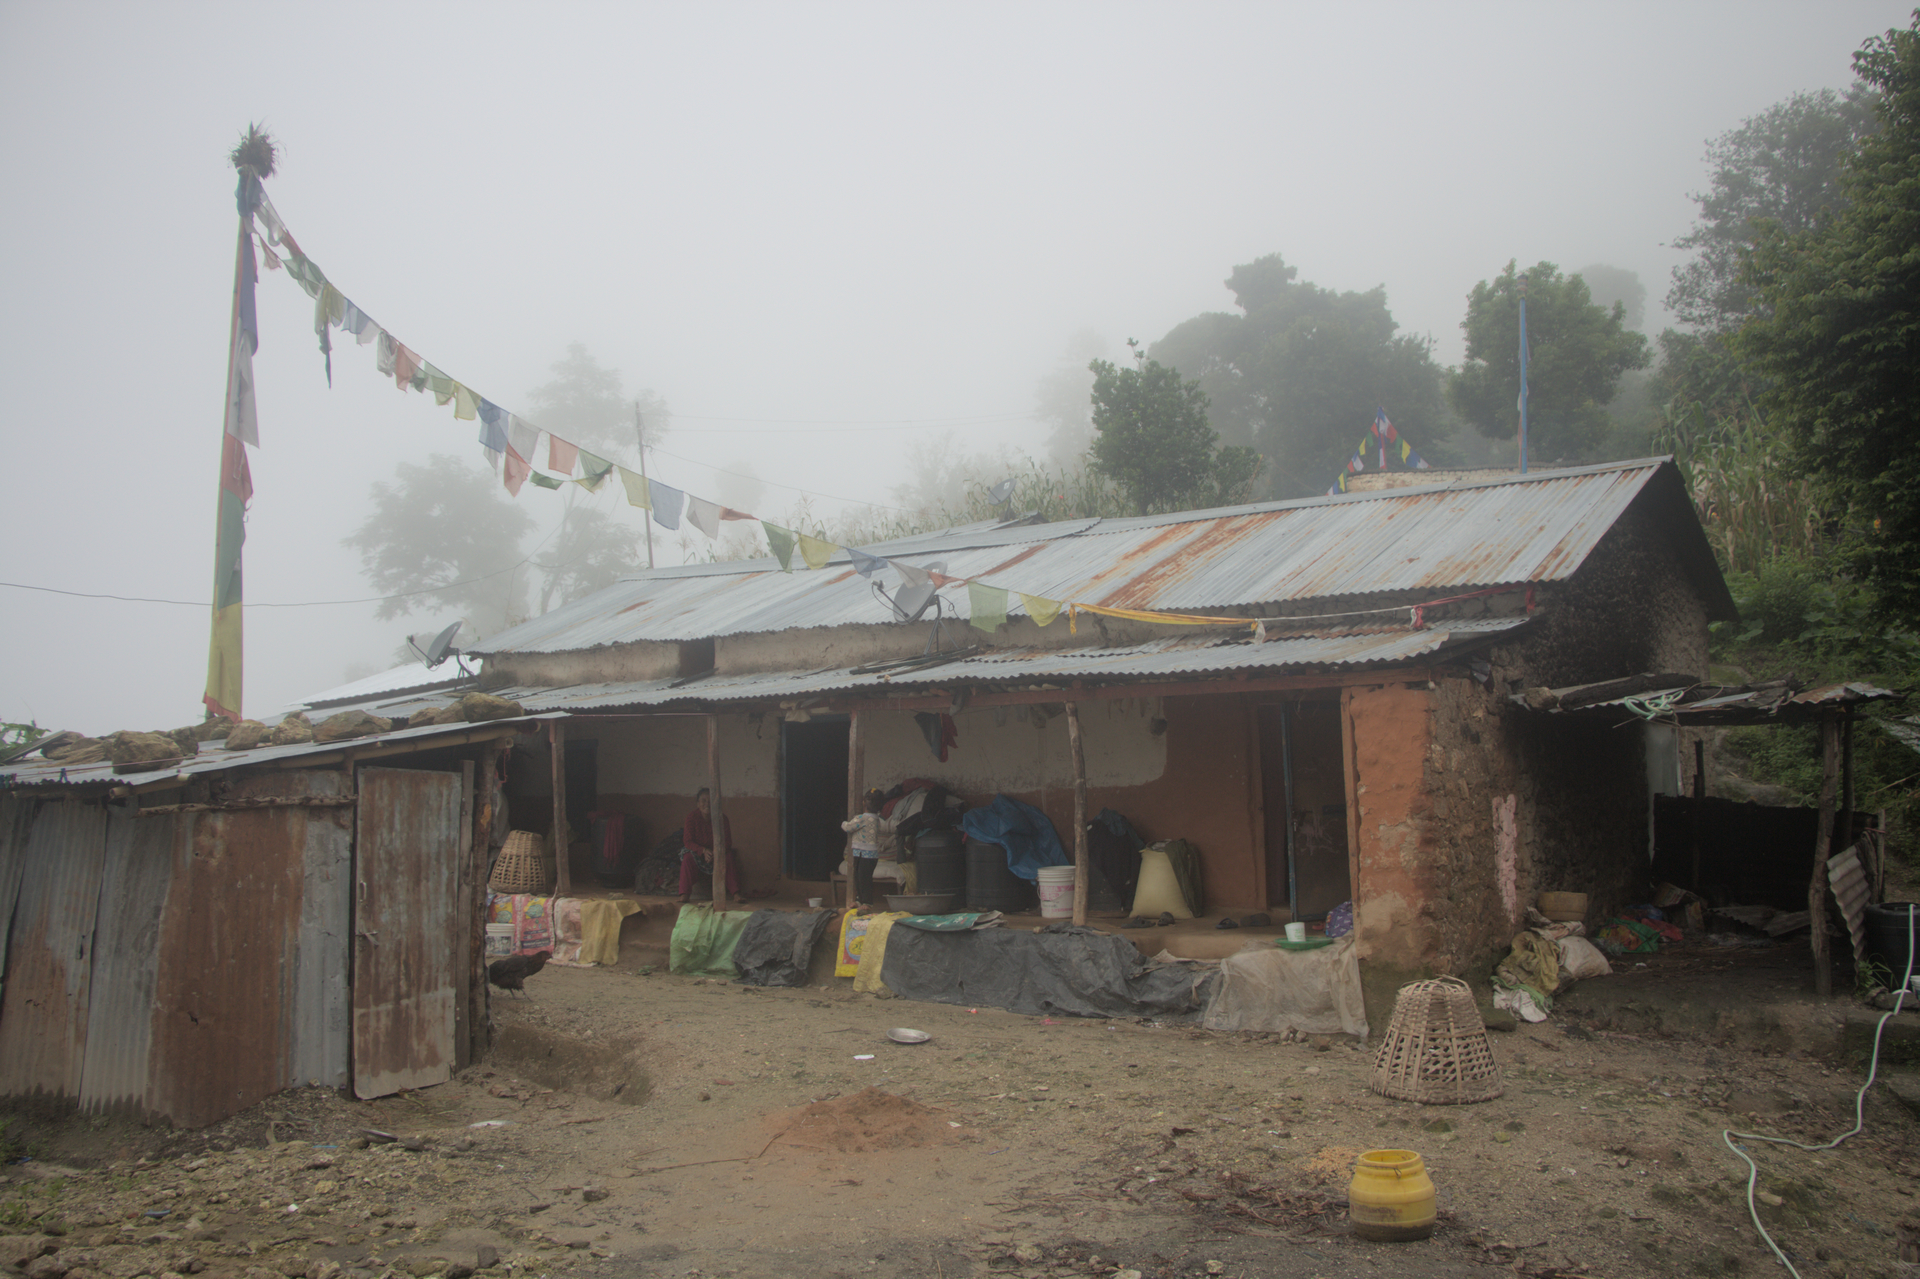
Here is our starting point. Notice that the conditions are similar to the images we are using as inspiration. It’s a lot easier to achieve a look when your lighting conditions are close.
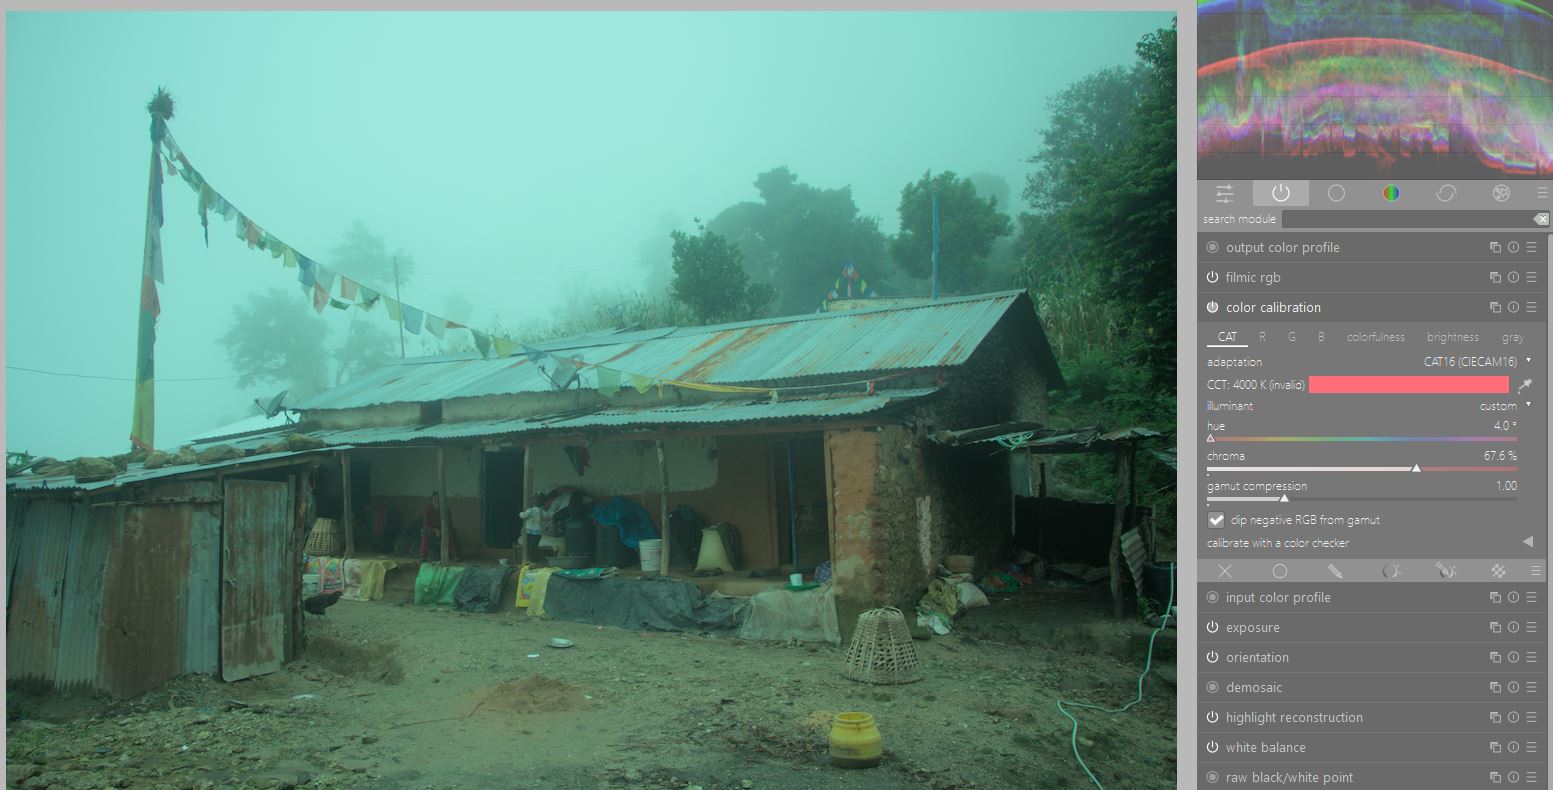
First, we adjust our color calibration so that our whites are similar in hue to the target image. I measured that hue to be about 184 degrees (we set the opposite hue in this module, which would be 184 - 180 = 4).
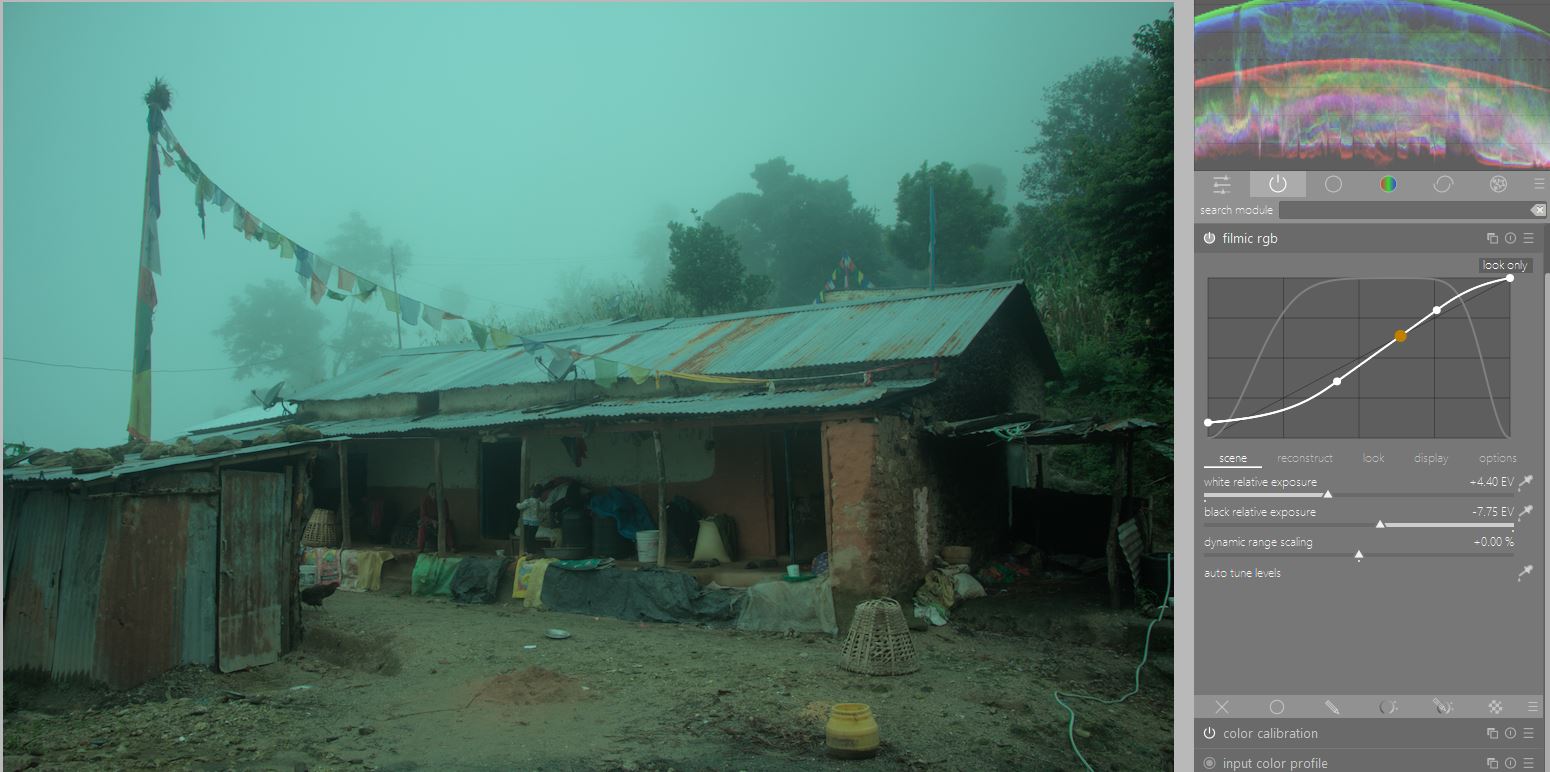
Next, I use the filmic rgb module to set my white and black relative exposures.

I raise the “target black luminace” in filmic rgb to raise and crush the darker tones in the image.

Using the new “Color balance RGB” module introduced in darktable 3.6, I massage the colors a bit. This gives us 3 different ways to control colorfulness. I mainly use the “perceptual saturation grading” to help adjust the colors in a way that doesn’t look unrealistic. I keep most of the colorfulness in the shadows (which also has the side effect of darkening them), and decrease saturation in the midtones and highlights (which also brightens them). I bring “brilliance “down for both after to keep things from being too bright.

For the above image, I also make some luminance adjustments. I raised the global offset and reduce shadows to further crush the darker tones. Then I decrease highlights and increase power to reduce contrast.

Next, I add film grain and add some yellow-orange to the shadows (a hue I found in the source images).

Using a parametric mask to select non-cool tones, I add some red to the image.
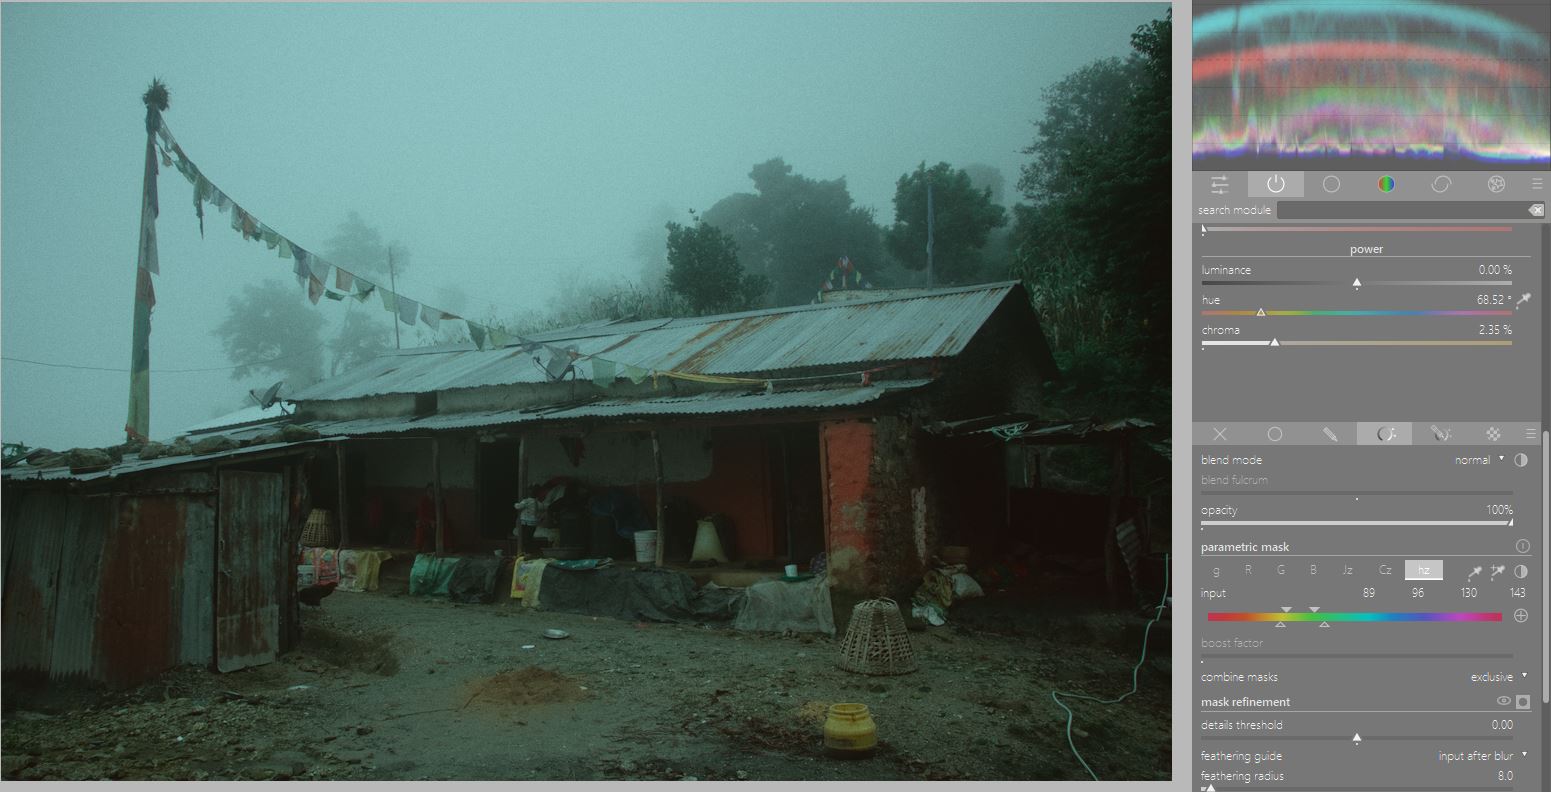
I add some color back to the yellows with a similar technique. And we’re done!
Comments
With an account on the Fediverse or Mastodon, you can respond to this post. Since Mastodon is decentralized, you can use your existing account hosted by another Mastodon server or compatible platform if you don't have an account on this one. Known non-private replies are displayed below.